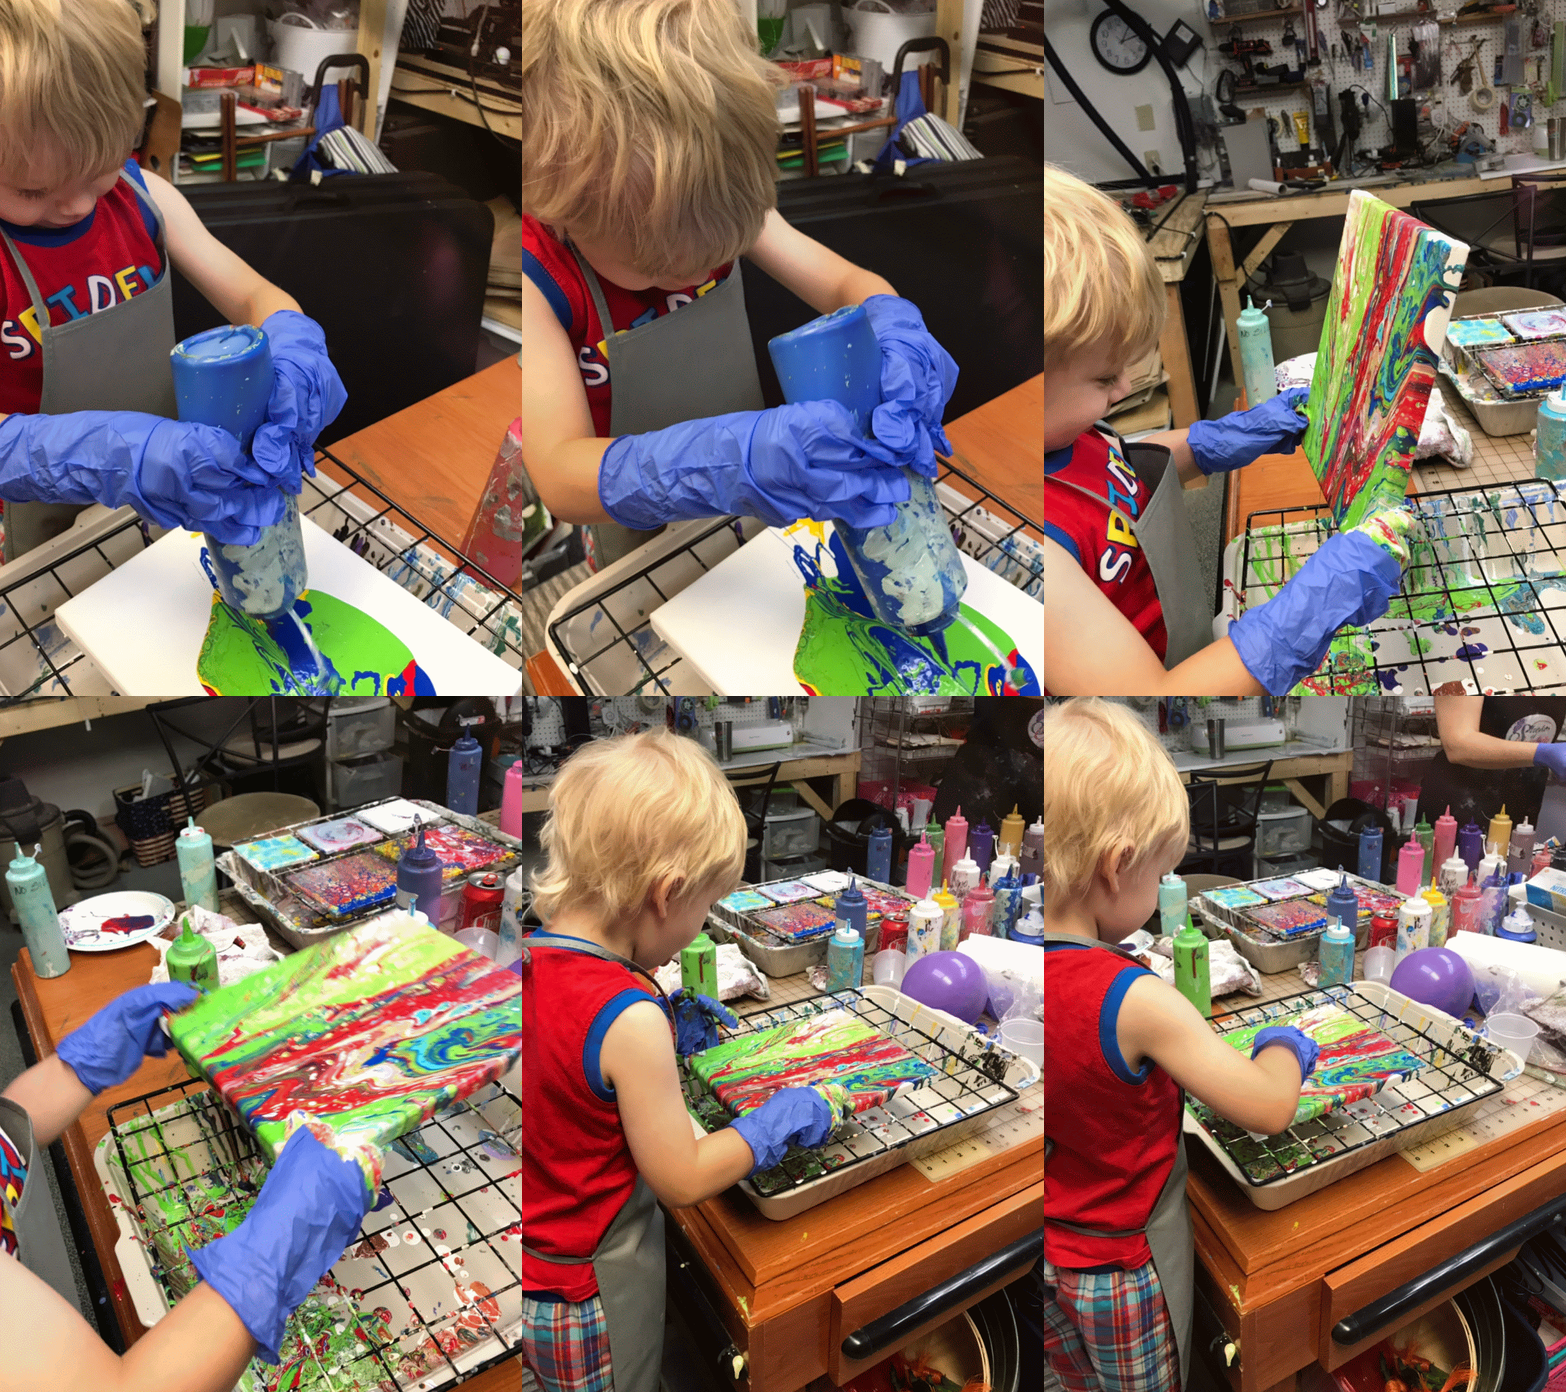
 Fluid art, also known as acrylic pouring, is a technique of creating abstract art by pouring acrylic paint onto a surface. Here is a step-by-step guide for creating a fluid art piece:
Materials:
-
-
Acrylic paint in an assortment of colors
-
-
Pouring medium (a mix of acrylic paint and a pouring medium such as Floetrol or Liquitex pouring medium)
-
-
Canvas or another surface to pour onto
-
-
A surface to protect your workspace
-
-
A heat gun or blowtorch (optional)
Step 1: Prepare your workspace Cover your work area with a protective covering to prevent any spills or splatters from damaging the surrounding area.
Step 2: Mix your paint and pouring medium in a plastic cup, mix your acrylic paint and pouring medium. The ratio of paint to pouring medium will depend on the thickness of your paint and the desired consistency of your final mixture. A general rule of thumb is to use equal parts of acrylic paint and pouring medium, and then add a small amount of water to achieve a thinner consistency. Mix thoroughly until there are no lumps or clumps in the mixture.
Step 3: Pour your paint onto the canvas Pour your paint mixture onto the canvas in any pattern or design you desire. You can pour one color at a time or layer different colors on top of each other. There are many techniques for pouring the paint, including the dirty pour, flip cup, and swipe method. Experiment with different techniques to create different effects.
Step 4: Tilt the canvas. Once the paint is on the canvas, tilt the canvas to move the paint around and create different patterns and designs. You can tilt the canvas in any direction you like until you achieve the desired effect.
Step 5: Add additional colors and effects (optional) If you want to add more colors or effects, you can pour additional paint on top of the canvas or use a heat gun or blowtorch to create cells and other interesting effects.
Step 6: Let the painting dry. Once you are satisfied with the design, let the painting dry for at least 24 hours. Do not touch the painting until it is completely dry.
Step 7: Finish the painting (optional) You can finish the painting by adding a coat of varnish or resin to protect the surface and give it a glossy finish.
That’s it! With these steps, you can create your own beautiful and unique fluid art piece.
 Fluid art, also known as acrylic pouring, is a technique of creating abstract art by pouring acrylic paint onto a surface. Here is a step-by-step guide for creating a fluid art piece:
 Fluid art, also known as acrylic pouring, is a technique of creating abstract art by pouring acrylic paint onto a surface. Here is a step-by-step guide for creating a fluid art piece: